Nikmati pengalaman bermain slot online terbaik dengan Tiger777 APK Slot Dana! Mainkan ratusan game seru dengan jackpot besar hingga miliaran rupiah. Deposit mudah via DANA, proses cepat & aman!...
Tiger777 apk slot dana APK v4.4.1
Tiger777 apk slot dana APK
Download for Android
| App Name | Tiger777 apk slot dana |
|---|---|
| Package ID | tiger777 |
| Genre | Casino, Games |
| Size | 22.3 MB |
| Latest Version | 4.4.1 |


Tiger777 Menangkan jackpot
Keuntungan Bermain di Tiger777
Tiger777 menawarkan pengalaman bermain slot online terbaik dengan APK khusus yang dioptimalkan untuk pemain Indonesia. Dengan deposit via DANA yang instan (hanya 1 menit!), Anda bisa langsung memutar gulungan dan mengejar jackpot progresif yang mencapai puluhan miliar rupiah. Aplikasi ringan dengan antarmuka bahasa Indonesia memudahkan semua kalangan bermain. 🎰✨

Jackpot Terbesar Hari Ini
Raih kesempatan menang fantastis dari jackpot harian kami! The Dog House menawarkan Rp11.003.857.073, sementara Dragon Tiger memiliki pool hadiah Rp11.002.729.049. Setiap putaran memberi peluang meraih kemenangan besar dengan fitur bonus seperti Free Spins dan Multiplier hingga 1000x! Setiap hari ada pemenang baru - berikutnya bisa jadi Anda! 💥🎉

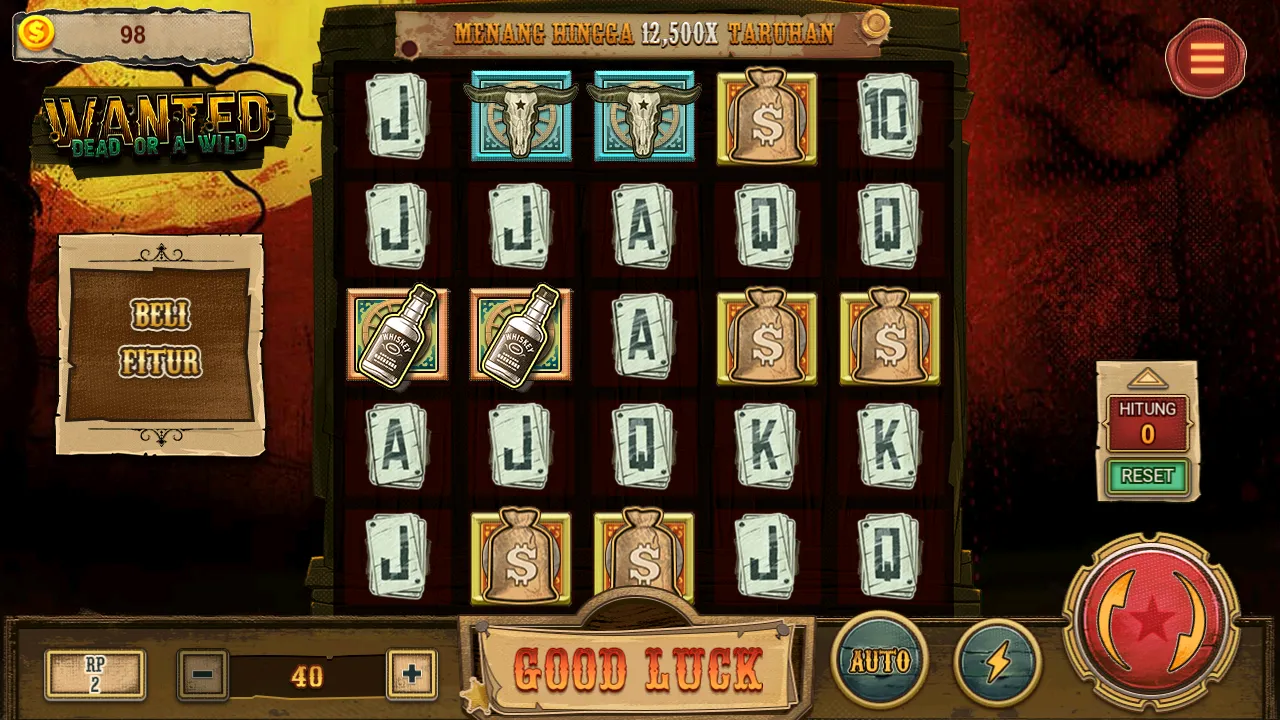
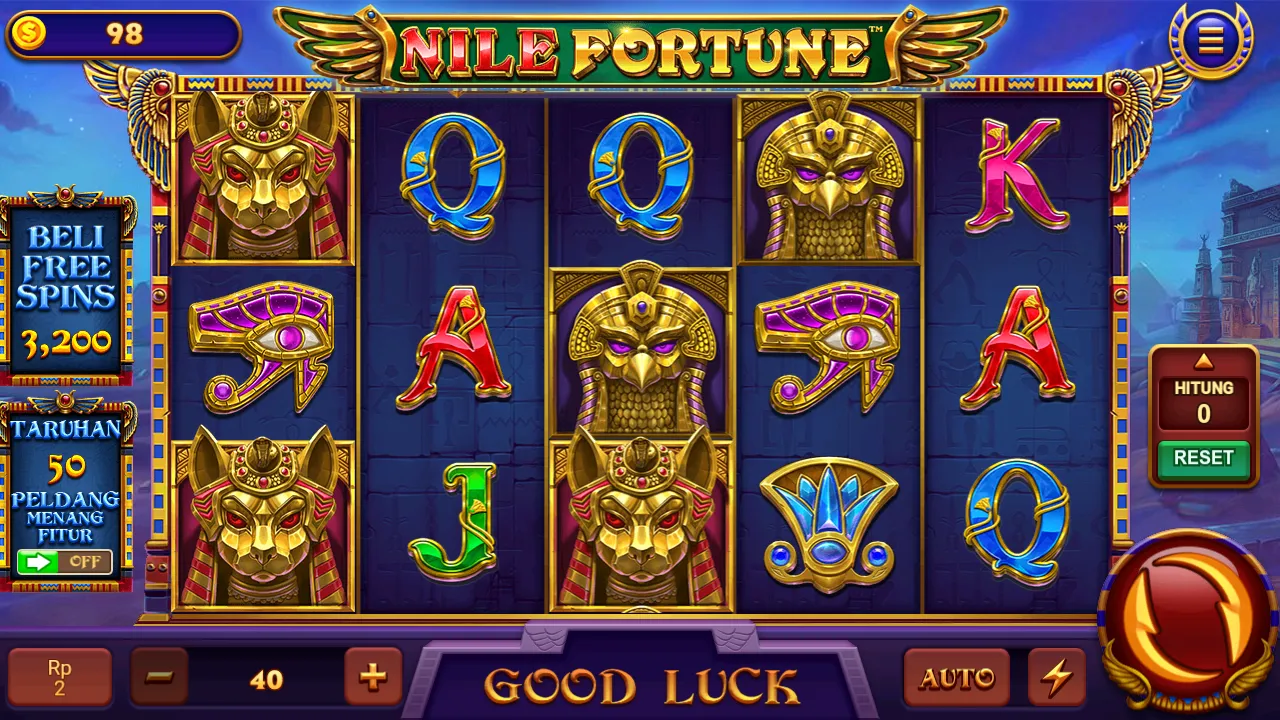
Permainan Populer dengan RTP Tinggi
Mainkan 5 game terfavorit pemain Indonesia: 1) Fortune Tiger (RTP 97.8%) - simbol harimau emas berikan scatter jackpot. 2) Gates of Olympus 1000 - fitur tumbling reels dengan kemenangan berturut-turut. 3) Sweet Bonanza - pola pembayaran cluster pays. 4) Fortune Rabbit - putaran bonus dengan multiplier progresif. 5) Dragon Tiger - permainan cepat dengan pembayaran instan via DANA. 🐲🐰

Cara Download & Deposit via DANA
1) Download APK Tiger777 di cookfoodgood.com 2) Instal dan buka akun baru 3) Pilih 'Deposit' dan metode DANA 4) Masukkan nominal (min Rp10.000) 5) Scan QR code atau masukkan nomor handphone 6) Dana masuk instan dalam 1 menit! Proses withdraw lebih cepat - menang langsung cair ke DANA maksimal 3 menit tanpa potongan. 💳📲

Fitur Eksklusif Member VIP
Dapatkan keuntungan spesial sebagai VIP: 1) Cashback harian hingga 15% 2) Personal account manager 3) Bonus ulang tahun Rp500.000 4) Turnamen private dengan prize pool miliaran rupiah 5) Withdraw tanpa batas. Status VIP otomatis naik setelah 5x deposit - semakin sering main, semakin banyak benefit! 👑🎁
4.5/5 (2 votes)
Komentar Pengguna
Baru pertama kali menang jackpot Rp7,2 juta! Withdraw via DANA cuma 2 menit. Aplikasi Tiger777 paling oke buat slot online!
Deposit 50rb via DANA langsung jadi 150rb karena bonus new member. Fortune Tiger emang game andalanku buat cuan! 🐯💖
Jackpot Gates of Olympus Rp2,1 juta kemarin! Gak nyangka bisa menang besar pakai modal cuma 20rb. APK-nya ringan banget di HP lama saya
Pilihan game lengkap banget dari slot sampai live casino. Yang paling aku suka Sweet Bonanza, bonus free spinnya sering keluar!
Dana masuk instan pas deposit, beda sama situs lain yang lama. Kemarin menang Fortune Rabbit 4,5 juta langsung cair ke DANA!
Beneran terpercaya! Sudah 3x withdraw selalu lancar. Customer service 24 jam juga responsif banget. Rekomendasi gak pake dua kali! 👍
Grafisnya keren dan gak lag meski pakai jaringan biasa. Bonus hariannya juga menguntungkan, kemarin dapet extra spin dari Lucky Neko
Baru seminggu main udah balik modal plus untung 1,7 juta! Pake strategi bet kecil dulu di Dragon Tiger emang jitu. Thanks Tiger777! 🎉